Showing posts with label baking. Show all posts
Sunday, 9 March 2014
Carrot Cake with Cream Cheese Icing (Incl. recipe)
My parents came down this weekend and we took them out for brunch as an early birthday treat for my Mums birthday. I also made her a carrot cake which after brunch and then a walk down the seafront, we came back and ate a slice of with a cup of tea. I used a Mary Berry recipe for the sponge and for the icing a recipe from the BBC Good Food website.
Recipe:
For the sponge:
250ml sunflower oil
4 large eggs
225g light muscovado sugar
200g peeled and grated carrot
300g self-raising flour, sifted
2 tsp baking powder
1 tsp ground mixed spice
1 tsp ground ginger
75g walnuts, shelled and chopped
For the icing:
100g softened butter
300g full fat cream cheese or mascarpone cheese (I used Philadelphia)
100g icing sugar, sifted
A couple of drops of vanilla extract
1. Preheat the oven to 180°C/160°C fan oven/350°F/Gas 4
2. Grease and line two 8 inch round tins and set aside
3. Mix the oil, eggs and sugar in a bowl and mix until well combined
4. Fold in the grated carrot
5. Sift the flour, baking powder, mixed spice and ginger into the mixture, and mix until well combined.
6. Mix in the walnuts
7. Place the cakes in the oven and bake for approx. 25-30 minutes
8. Once baked (check this by inserting a cake tester or knife into the middle of the cakes and checking they come out clean), leave in the tins to cool for ten minutes, then turn out onto a wiring rack to cool completely
9. Once the cakes are cooled, beat the butter until very soft (this is very important! If the butter is not soft enough it will not combine with the cream cheese. I have thrown away two batches because I didn't do this)
10. Mix in the cream cheese a little at a time until fully incorporated.
11. Sift in the icing sugar and combine slowly. Be careful not over mix as this runs the risk of the icing becoming too runny.
12. Place the first layer of the cake (flat side down) on to a board or cake stand and 'glue' the base to the board/stand with a little of the icing so it doesn't slide about
13. If your sponge is raised in the middle and you want it flat, carve off the top with a bread knife.
14. Add some of the icing to the middle of the base cake and smooth out to the sides with the back of a spoon or a spatula
15. Repeat the carving process if necessary on the second cake half, and place on top of the icing so the flat side is upwards. This will give a flatter area to work on.
16. Repeat the icing process as above and sprinkle on walnuts.
Enjoy with a hot cuppa!
Happy Baking.
Tuesday, 4 March 2014
Decorated Cookies
I'm a fan of decorated cookies and have made them as wedding favours for friends and family. I think they are something a little different (although they have started growing in popularity in the UK) and they can be completely personalised to someones big day, whether in a traditional style or not. I usually cover my cookies in fondant icing but I would really like to start using royal icing as well. You can do so many different things with fondant and royal icing, but royal takes more time, effort and persistence.
I have also made decorated cookies for birthday parties, such as the pirate cookies below, which I think turned out really cute. Decorated cookies are really versatile and can be made for any occasion, making them great favours, treats and gifts.
Sunday, 23 February 2014
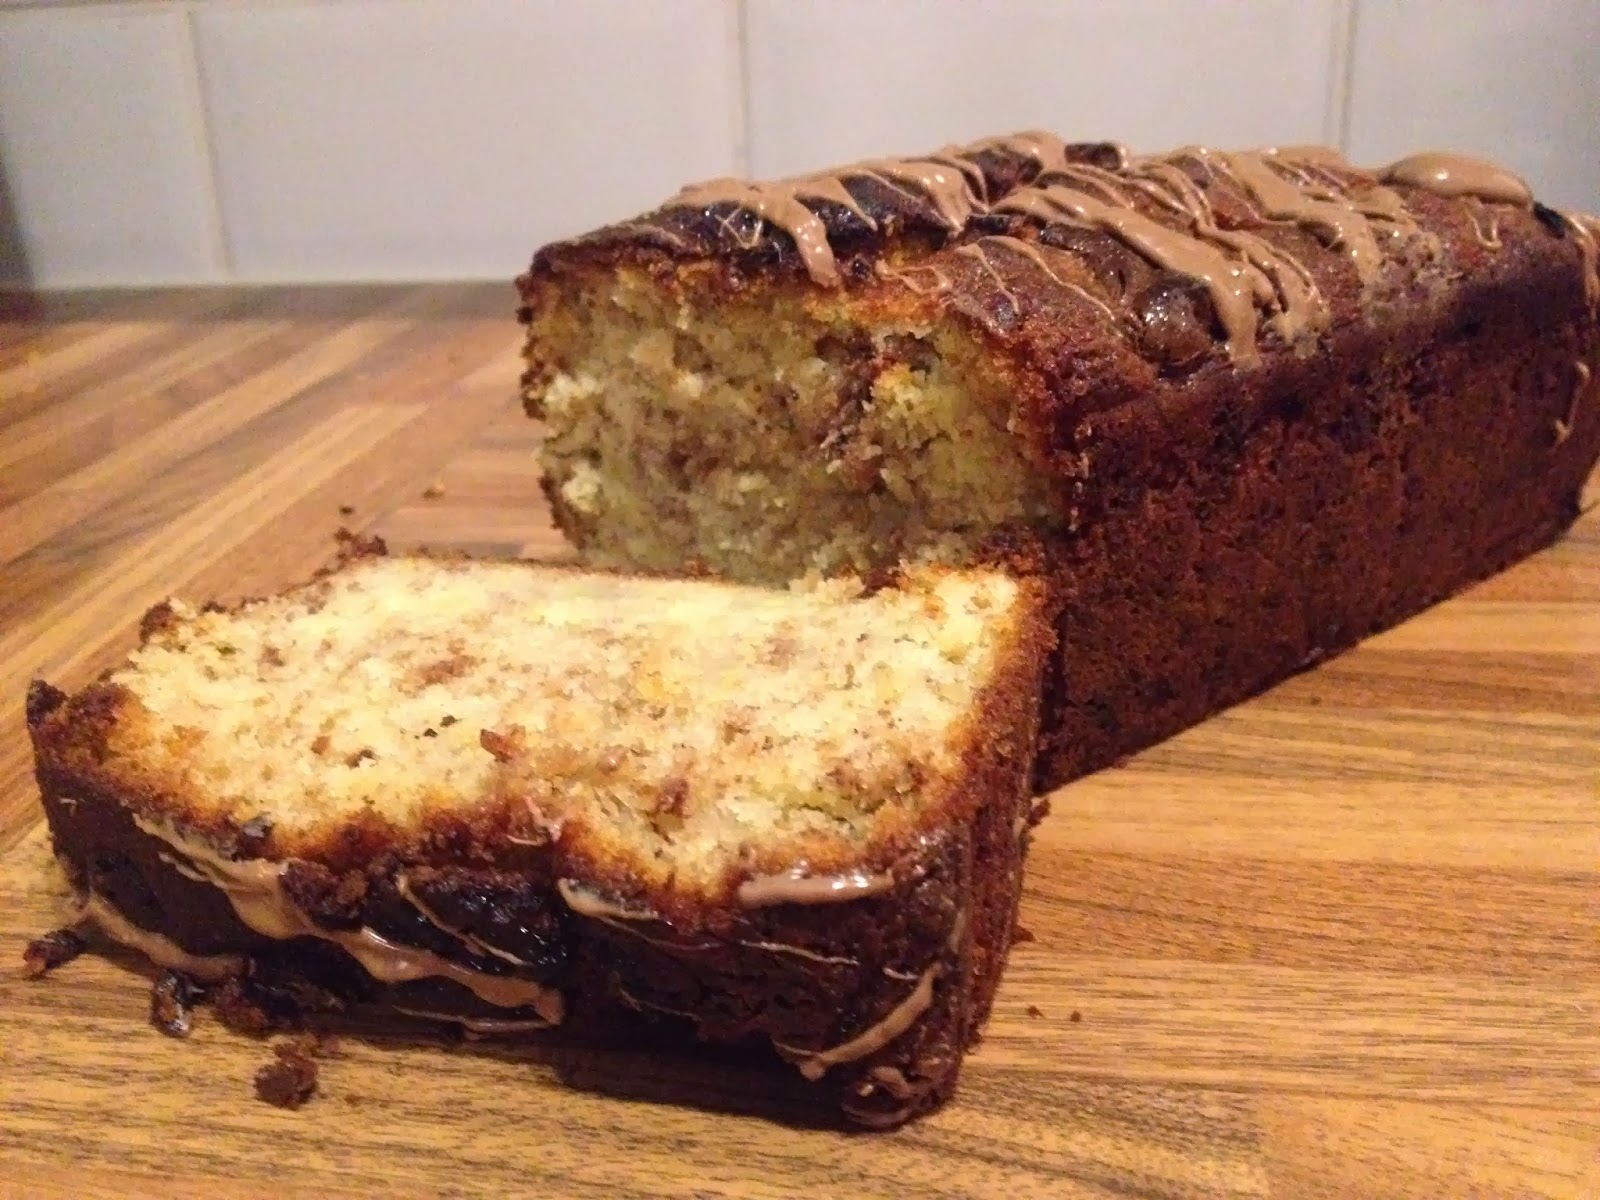
Banana and Chocolate Bread (incl. recipe)
When there are bananas that are too far gone to be eaten and enough ingredients in the cupboard, it would be rude not to make some sort of banana bread. I've made it a few times so this time I thought I would add a chocolate twist. Ok so a banana and chocolate bread is nothing original, but I fancied it.
Recipe:
225g self raising flour
Pinch of salt
1 tsp baking powder
115g unsalted butter
200g caster sugar
2 eggs
3 mashed bananas
Splash of milk
100g chocolate (I used Galaxy but you can use whatever suits your taste)
1. Preheat your oven to 160 celsius / 325 farenheit / Gas Mark 3, and line your tin with baking paper.
2. Melt 2/3rds of the chocolate in a bowl in the microwave, stirring every 15 seconds to ensure the chocolate doesn't burn. Set aside.
3. Mix together the butter and caster sugar until light and fluffy.
4. Lightly whisk the eggs and add to the mixture a little at a time, beating after each addition of the eggs. If the mixture begins to curdle, add a little sifted flour.
5. Mash the bananas and stir in to the mixture, along with the milk.
6. Sift the flour and baking powder into the mixture and combine.
7. Drizzle the melted chocolate in to the mixture and stir lightly so you get a swirl effect .
8. Pour the mixture in to the tin and bake for approximately 1 hour (this may vary slightly depending on your oven. Mine can be a little temperamental). Check the bread is cooked by inserting a skewer and checking it comes out clean.
9. When cooked, leave for a few minutes in the tin then turn out on to a cooling rack.
10. Melt the remainder of the chocolate and drizzle over the top. Either cut straight away and eat warm or leave to cool and enjoy later.
Happy baking!
Thursday, 13 February 2014
Homemade Valentines Day Cookies
This year I decided to make Paul some Valentine cookies. Of all the things I bake, my cookies are his favourite, so I knew he would appreciate and enjoy them. I had to make them and give them to him early though as tomorrow we are off to Venice (my Valentines and one of my Christmas presents from him. I know you can't really compare cookies to Venice!).
I usually make these with sugarpaste on top for decoration but as he prefers them without it I did some plain and some with chocolate decorations. I used a chocolate flavoured piping icing which I found at the supermarket and some chocolate curls. Paul said they were my best cookies yet - high five to me!
Friday, 31 January 2014
New Baby Girl Cupcakes
My future sister in law recently gave birth to the most beautiful baby girl in world (ok, as a first time aunt and not yet had my own children, I am pretty biased, but seriously, she is the most beautiful baby I have ever seen).
I'm in to cake decorating and couldn't resist the opportunity to make some baby girl cupcakes. I didn't get time to make them the first time we went to visit but we visited again last night for more cuddles so I made them the night before and took them round. They were vanilla inside with vanilla buttercream and fondant icing. I used an impression mat on the icing on two of the cupcakes and I finished them all off with cute pink decorations which I handmade myself. Here are a few pictures. (And as if I wasn't already broody enough, our nieces birth made me just a bit (ok alot) more).
Subscribe to:
Posts (Atom)